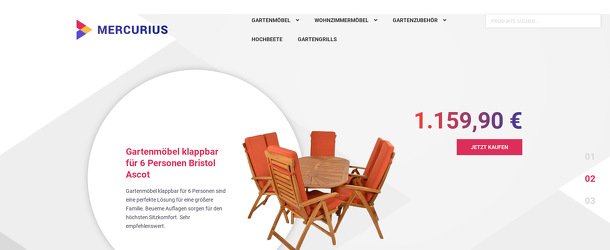
https://ledolux.de

https://www.rolladenfrenzel.de
https://immken.de

https://www.lagerundwerkstatt.de
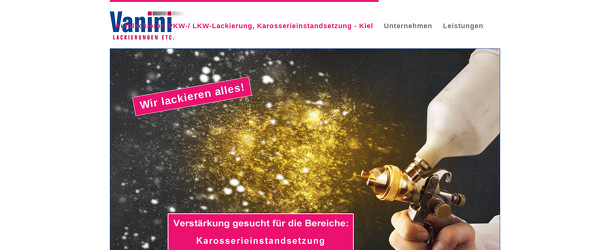
https://vanini.de
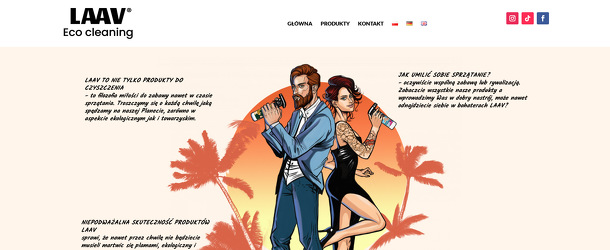
https://laav.eu
https://dk-metalzaune.de
https://www.jensgottschalk.de