Folge uns:
easyacdc.com
easyacdc.com
Home
Kategorien
Börsenkurse, Wechselkurse, Wechselstuben
Ausflüge, interessante Orte
Gute Ernährungsberaterin, Körperformung
Gastronomieausstattung
Architektur, Politik, Rechtsanwälte
Motorisierung
ADMIN
Schreib uns:
office@easyacdc.com
Ausflüge, interessante Orte
Home
Ausflüge, interessante Orte
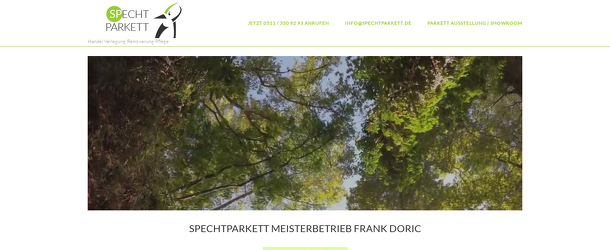
https://www.spechtparkett.de
https://www.relebo.de
https://www.jensgottschalk.de
https://www.lagerundwerkstatt.de
https://www.rolladenfrenzel.de
Copyright 2022 www.easyacdc.com. All rights reserved